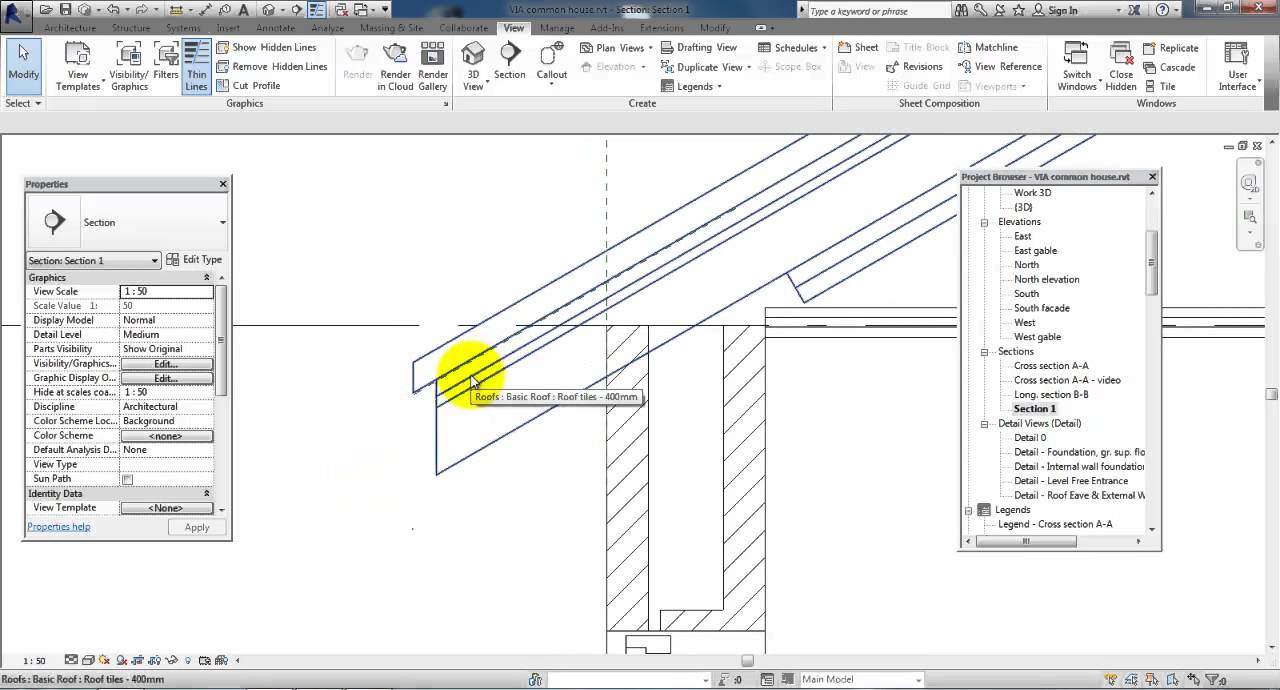
In the properties dialog box for the view you want to see the overhang lines in set the underlay drop down to be the level on which the roof was created.
How to add opverhang after roof revit.
On the options bar for overhang enter 600 and select defines slope.
After creating a roof you can change its shape or overhang cut openings or align ridges.
This post explores the effect of different types of wall finish materials on the overhang of the roof.
Click architecture tab roof drop down roof by footprint.
This video will show you how to increase the overhang on a portion of the roof and fix the eave height.
Extend into wall to core.
Edit the roof sketch double click the roof or select the roof and click modify roofs tabmode panel edit footprint or edit profile.
Click architecture tabbuild panelroof drop down roof by footprint.
If you choose not to move the roof to a different level revit notifies you later if the roof.
Open the 02 lower parapet floor plan.
If you try to add a roof on the lowest level a dialog prompts you to move it to a higher level.
On the draw panel click pick walls.
1 st floor no overhang.
3d view of roof begin by opening the plan view in which you want to see the roof line overhang as a hidden line.
Two options for the overhang.
If you want to change the position of the roof use the properties palette to edit the base level and offset properties to change the position.
In this video we will be adding a structural truss underneath a roof and then attach the truss to the roof.
Display a floor plan view or a reflected ceiling plan view.
Check out the full thing.
Create a sloped roof with an overhang.
When you create a roof in revit using the select walls tool in the options bar you will see an option with a checkbox see the left red colored arrow in the image below.
Creates a roof using the building footprint to define its boundaries.
Learn how to troubleshoot your roof overhang or offset issues to make better more precise roofs with autodesk revit.